QUICK STARTUP GUIDE: Backend Admin Panel
Home Page
When you first log into OpenField in Admin Mode, you’ll see this screen which provides high level reporting for active Conversation Codes, Scripts, and Users. To see more detailed insights on each Conversation Code and Script you can click on the Description link.
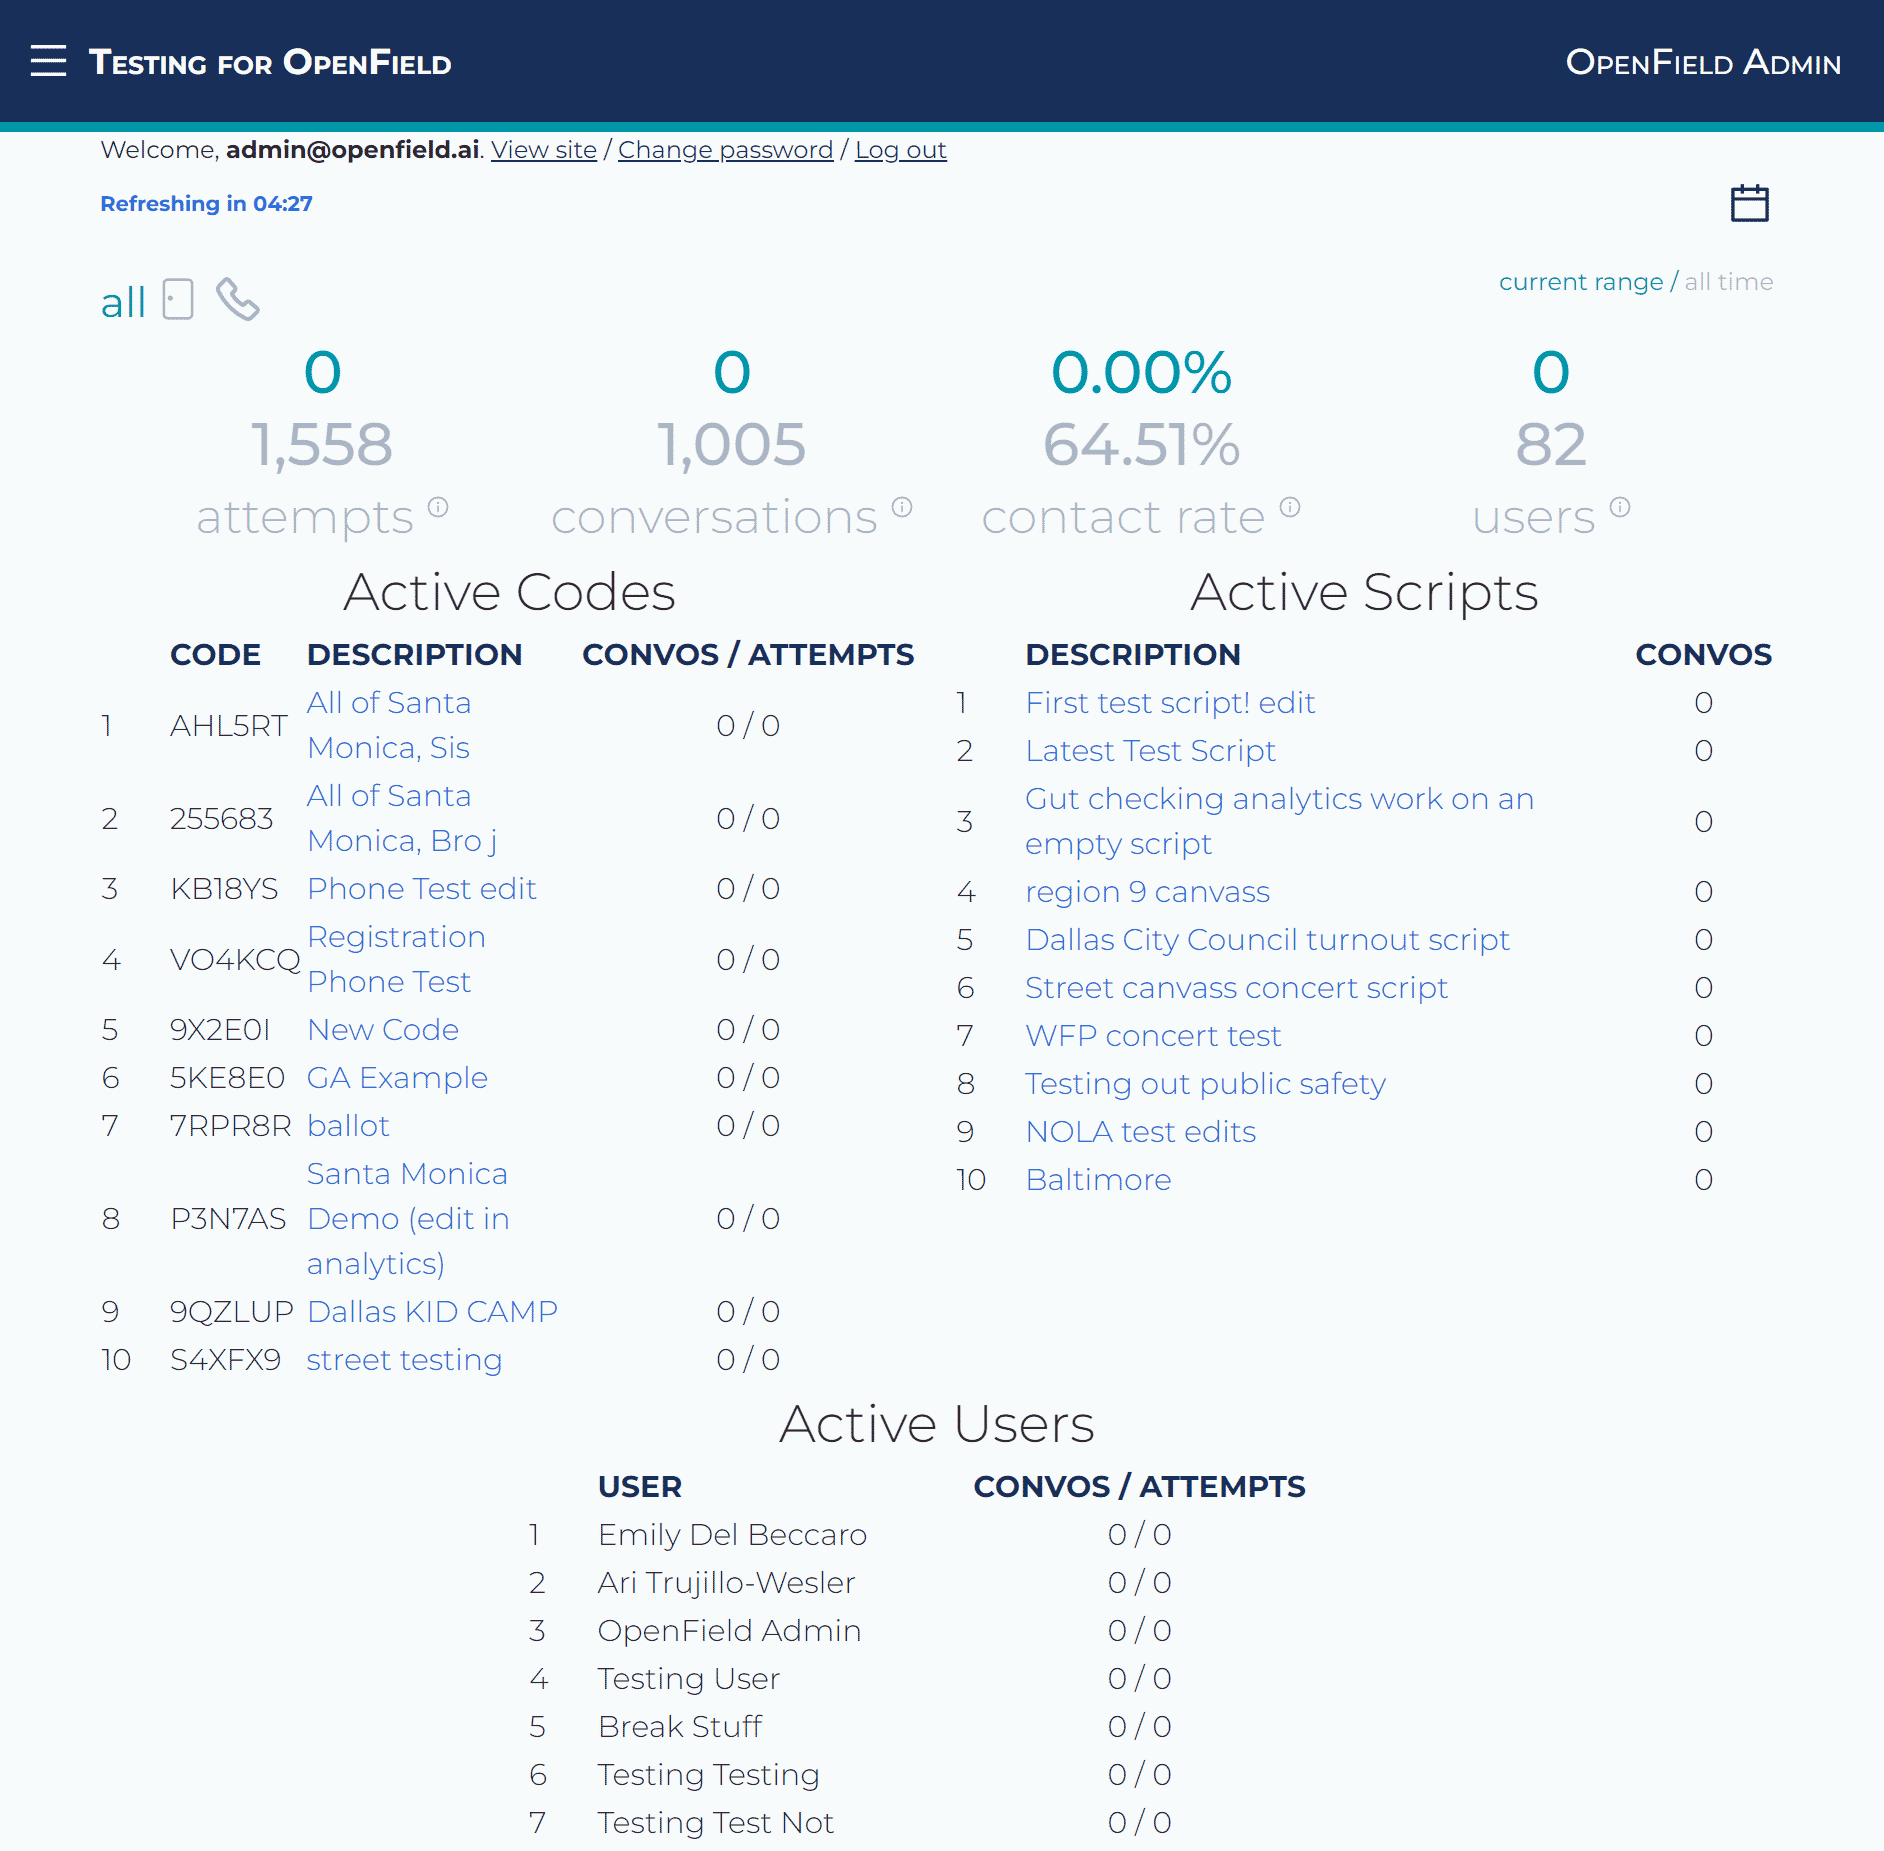
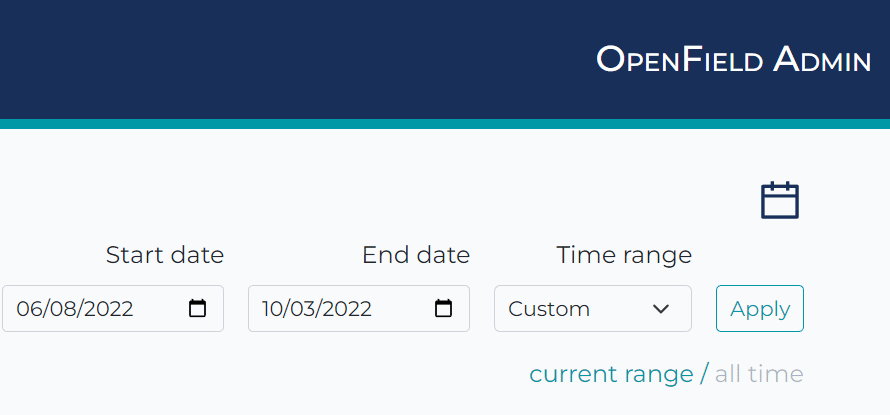
By default this screen provides data from the current day, but you can change the current time range by clicking the Calendar icon in the top right corner. You can also limit the data to a specific date range by setting the time range to Custom.
This page will automatically refresh and pull in new conversation and attempt data from your canvassers every 5 minutes, noted by the timer in the top left corner.
View Site
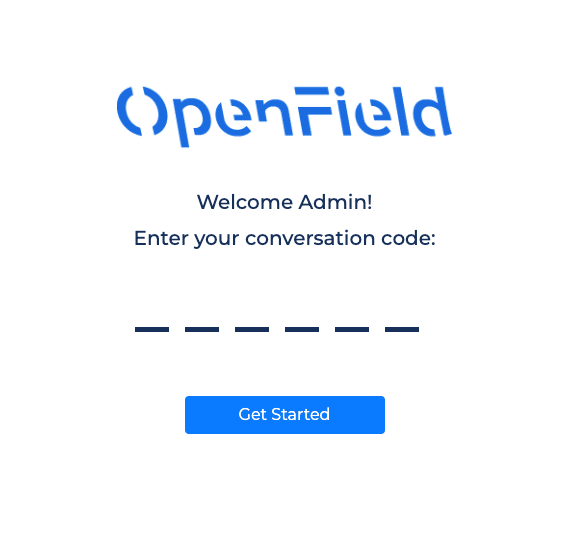
When you click on View Site, you will see (in the same browser tab) the OpenField site that your organizers are seeing when they log in. You will need to have a valid conversation code in order to proceed.
Change Password
When you click on Change Password, you’ll be able to reset your own password. In order to reset your password, you’ll need your old password and your new password needs to meet a set of requirements. Confirm your password by re-entering the new password and clicking on the Change my Password button.

Side Panel
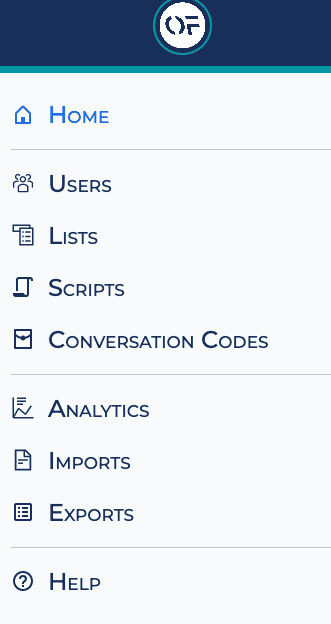
Clicking on the hamburger icon will open a side panel with even more options.
Users
Clicking on Users will give you a list of all of your users and their activity status. You will be able to see which users have admin access in this screen. You can also search for specific users by their names or email addresses and sort by a variety of different features. This is where you will be able to delete users as needed.
User Permissions
Clicking on a user’s email address will open a form where you can change their general information, as well as update their Permissions.
These are the permissions you can give a user:
- Is active - Basic permission that allows access to the door knocking or phone banking apps.
- Has Admin Access - User can access the Admin Mode.
- Is staffer - If this is checked along with Is active the user can access Admin Mode.
- Is field director - All but super admin permissions. Can create other admins and staffers but can't export all data.
- Superuser status - Gives user all permissions without needing to explicitly assign each of them.
Lists
Clicking on Lists will give you the ability to label your lists, or delete them as needed.
Scripts
Clicking on Scripts will give you the ability to add or upload scripts as needed.
Conversation Codes
Conversation Codes identify the script and target list for your canvasses and calls. This tells your canvassers who they’re talking to and what to say. Clicking on Conversation Codes is where you will go to manage all of the major details of your canvass. You’ll determine:
- The organization or cause your canvassers are representing (this will be visible in the script)
- The script your canvassers will be using (added by clicking on Scripts in the side panel)
- The list that you’ve uploaded
- The date the conversation code will expire, so that users don’t have forever access to personal information
- Set the type of conversation that is being had using this code
- Your minimum and maximum size for a single turf
- Start and end times for contact to be allowed, so that canvassers are only doing outreach during times you’ve allowed (these times are local to the user)
- You can deactivate a code early here
- Set the attempt goal for the canvass
- Action URL, if you are recruiting people to an action
- And the universal source code, which will help you navigate any troubleshooting that may need to be done
- A starting location- This is a default location in case a user doesn't have one logged. This is a fall back, but we suggest using a staging location or street corner.
Imports
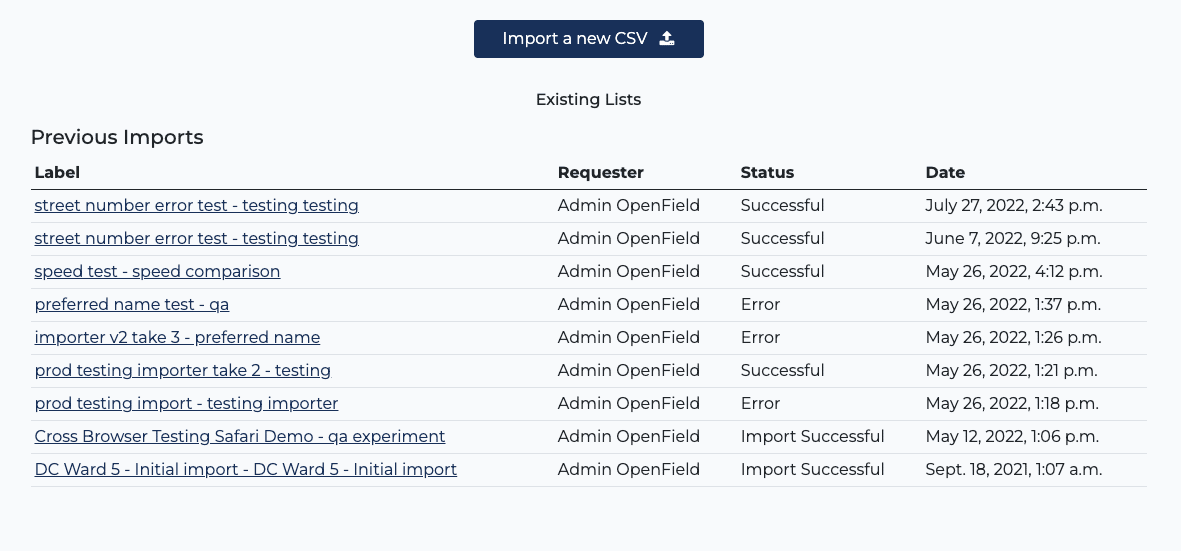
Going back to the side panel, when you click on Imports, you’ll be able to import new lists for your canvassers to contact. You’ll need to have your data in a CSV format.
Exports
Finally, in the side panel, if you click on Exports, you’ll be able to see all of the exports in your instance, who exported what and the status of that export.
Analytics
Our standard reporting is known as Analytics. Clicking on Analytics will show you a list of your active Conversation codes. By default Analytics will show data from the current day, but you can change the current time range by clicking the calendar icon in the top right corner. This will update the current time range for all of the Tabs on this page. You can also limit the data to a specific date range by setting the time range to Custom. Just like the Home Page, Analytics data refreshes automatically every 5 minutes.
Overview
Once you click on one of your conversation codes, you’ll see an Overview tab, which is set to view the last day’s data by default.

Attempts
Clicking on the Attempts tab will give you the counts and rates of all of your attempts by response rate, giving you insight into how many conversations you’re having.
Conversations
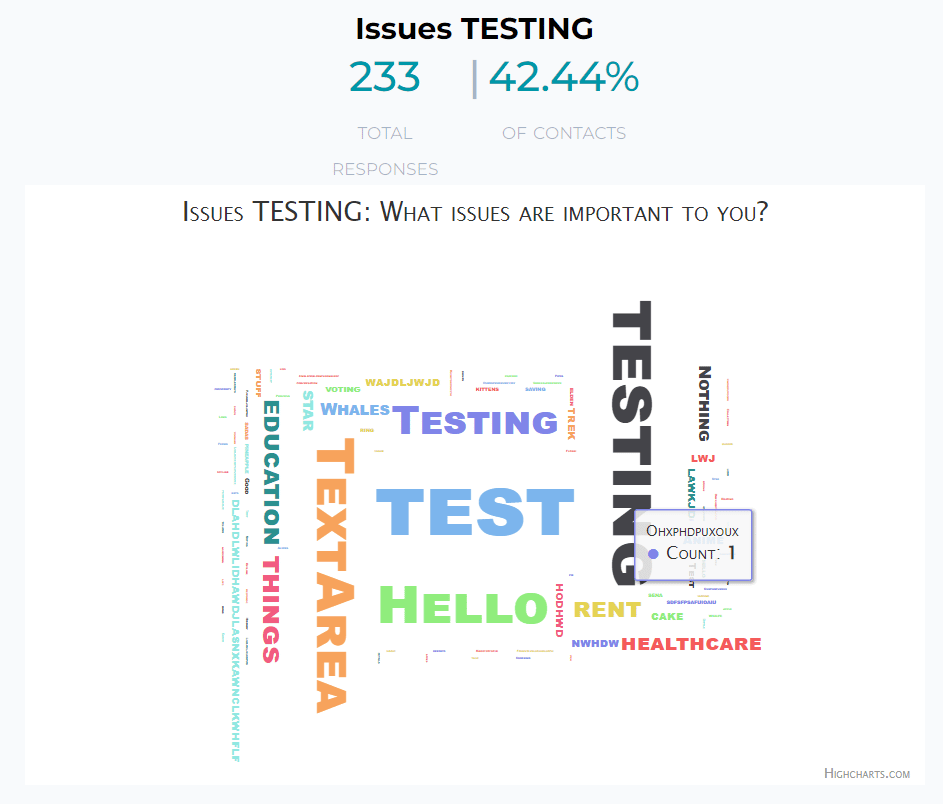
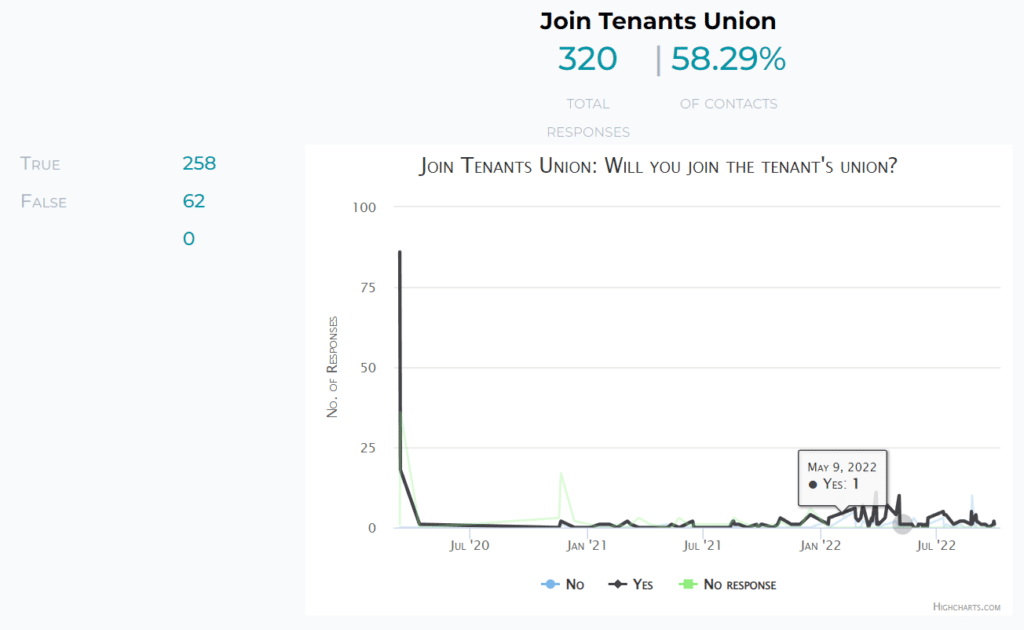
The Conversations tab will show you analytics from your conversations, including a word cloud and daily breakdowns of responses to key questions.
Canvassers
The Canvassers tab will show you the attempts and conversations each user has made in the time period in a ranked order (to make GOAT boards easier to celebrate).
Manage
The Manage tab will give you the ability to edit details for your Conversation Code from within the Analytics menu, with new features coming soon. Please use caution when making updates to Conversation Codes as changes are immediate and impact users in real time.
